Introduction
Equipment
Set upTo take product photographs, my tutor set up the equipment for me, which included, camera settings, background and lightings. After that I positioned my products alongside still life objects to make the final outcomes look more interesting, creative and professional. I tried various compositions for every product and checked in the camera if they looked good in the frame. I also made some changes in the background; instead of fabrics, I replaced them with black glass background because it was solid and plain and also because I used water later, so it was more suitable. The images below show the entire set up, equipment and process. Influences/inspirationsThese images represent my inspiration from google and Pinterest. 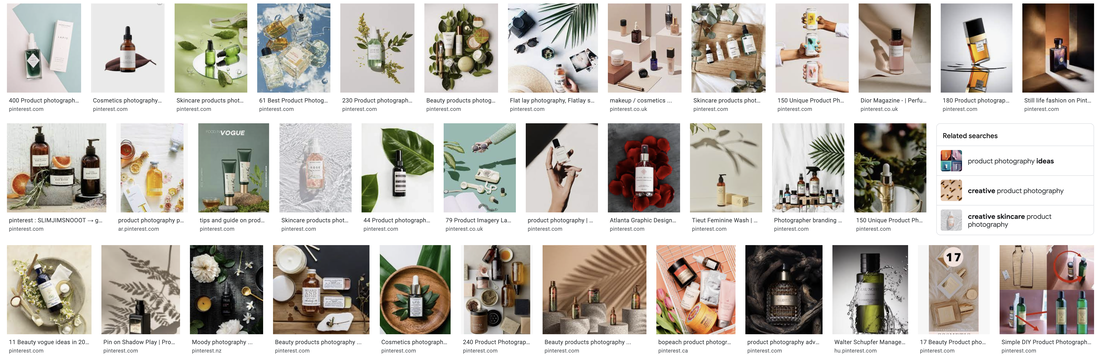 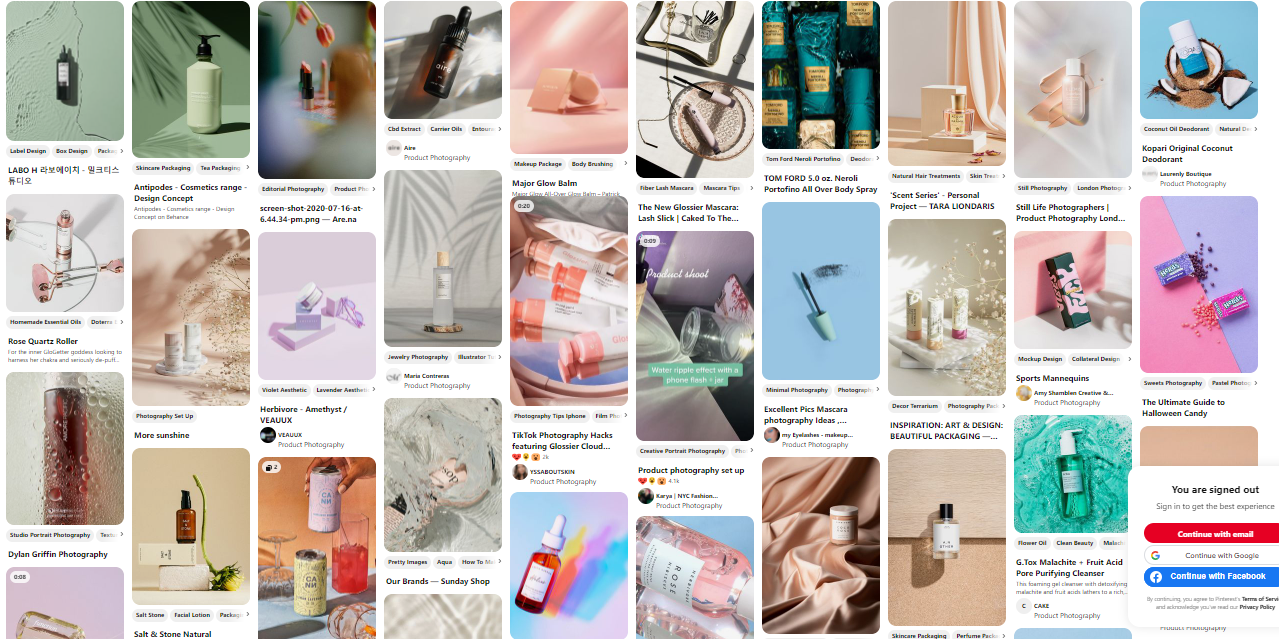 Lighting diagram and set up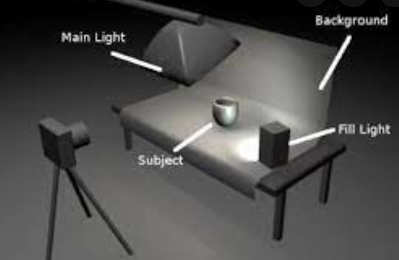 H&S in the photography studio1)Loose cables and wires 2) Immediately clean spillages 3)Check light stands and tripods 4)Don't touch the bulbs 5)Be careful with knives and scissors or any other sharp tools 6)Keep your studio tidy and clean. 7)Before starting do a risk assessment for you electrical equipment 8)Make sure that your equipment is insured. 10)Don't bring food or drink in the studio. Contact sheetBelow is the contact sheet of all the images that I have taken during my workshop of product photography. Edited photographs
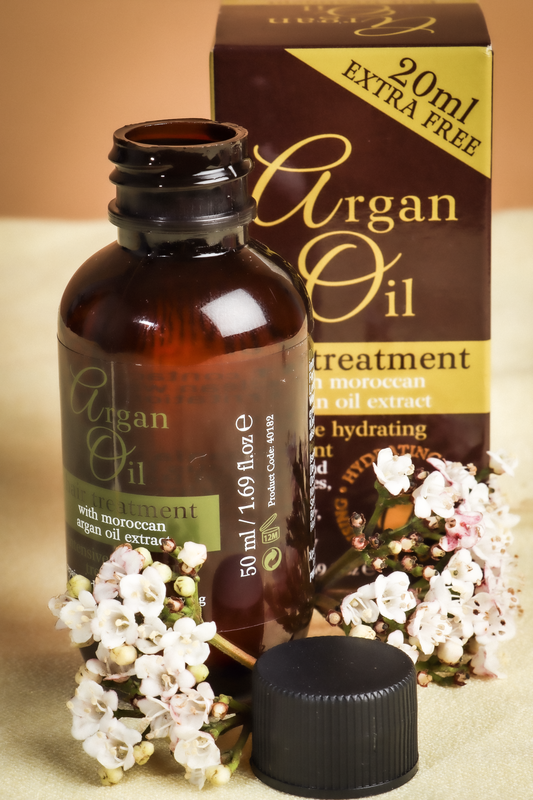
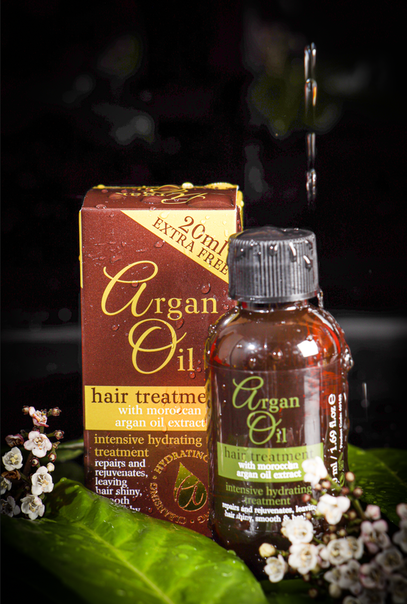
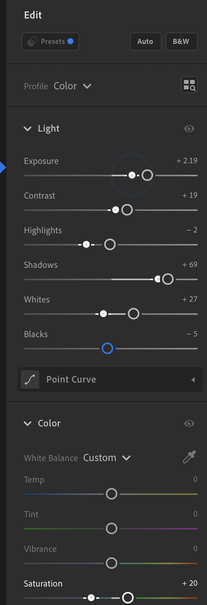
This is another photograph of the same product, but with different composition. My aim, for this image, was to experiment with the water drops to see what effect they will add to the picture, also because I, personally, really like experimenting such methods especially adding water in photographs to create reflections. I placed green leaves under the oil bottle and its packaging, added white flowers, but this time put them in the corners, and sprayed water all over the product and took some images. After seeing how pleasing the water was looking on the bottle, I had the idea to capture the water falling on the product from the top, and doing so was quite challenging; pressing the camera button (me) and pouring the water (my friend) at the same time because the water. The aperture was set on f7.1, shutter speed at 1/160s and ISO 100. At the end I have re touched this photograph on Adobe light room and all the changes that I have made are shown above.
References
https://baboodigital.com/product-photography-a-comprehensive-guide/ https://www.bigcommerce.com/blog/how-to-rock-product-photography-on-a-budget/ https://pathedits.com/blogs/tips/what-is-product-photography-everything-you-need-to-know-to-get-started
0 Comments
Leave a Reply. |
AuthorWrite something about yourself. No need to be fancy, just an overview. Archives
March 2022
Categories
All
|
 RSS Feed
