Introduction
History
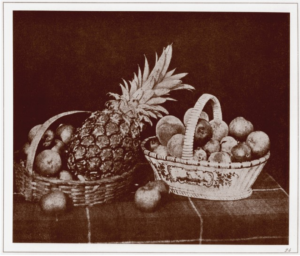
Inspirations/influences
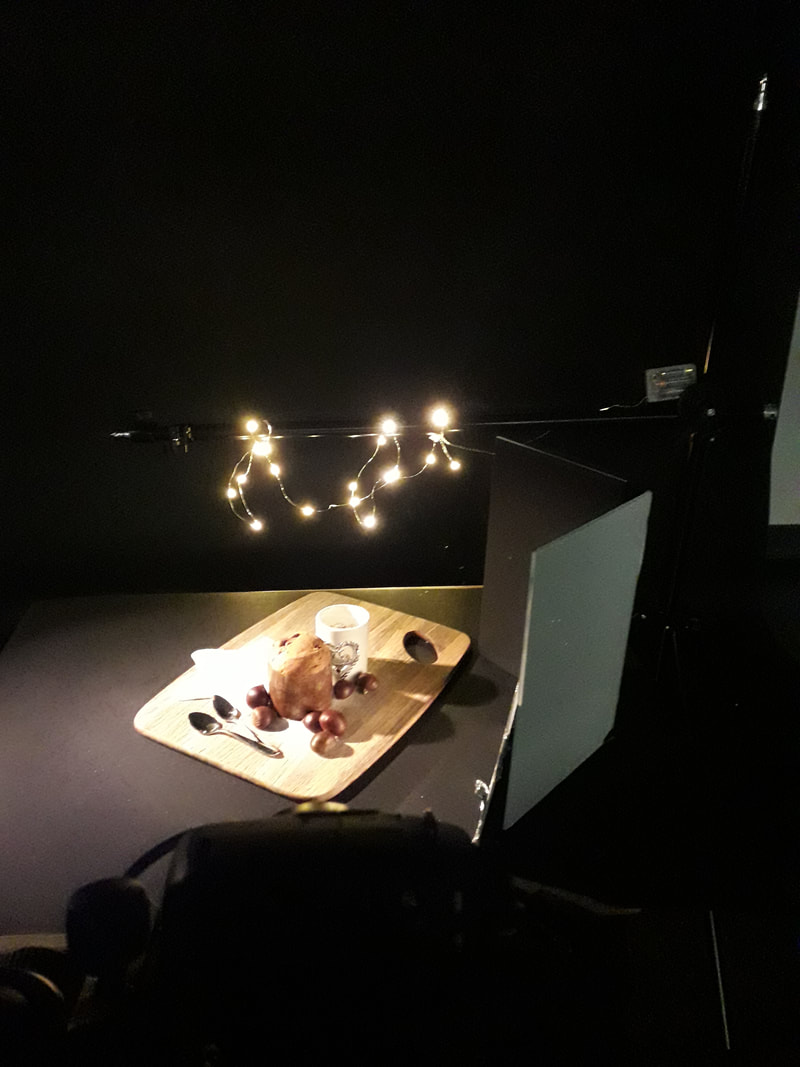
Lighting,equipment and set upThe images shown below represents the equipment and set up required for food photography.
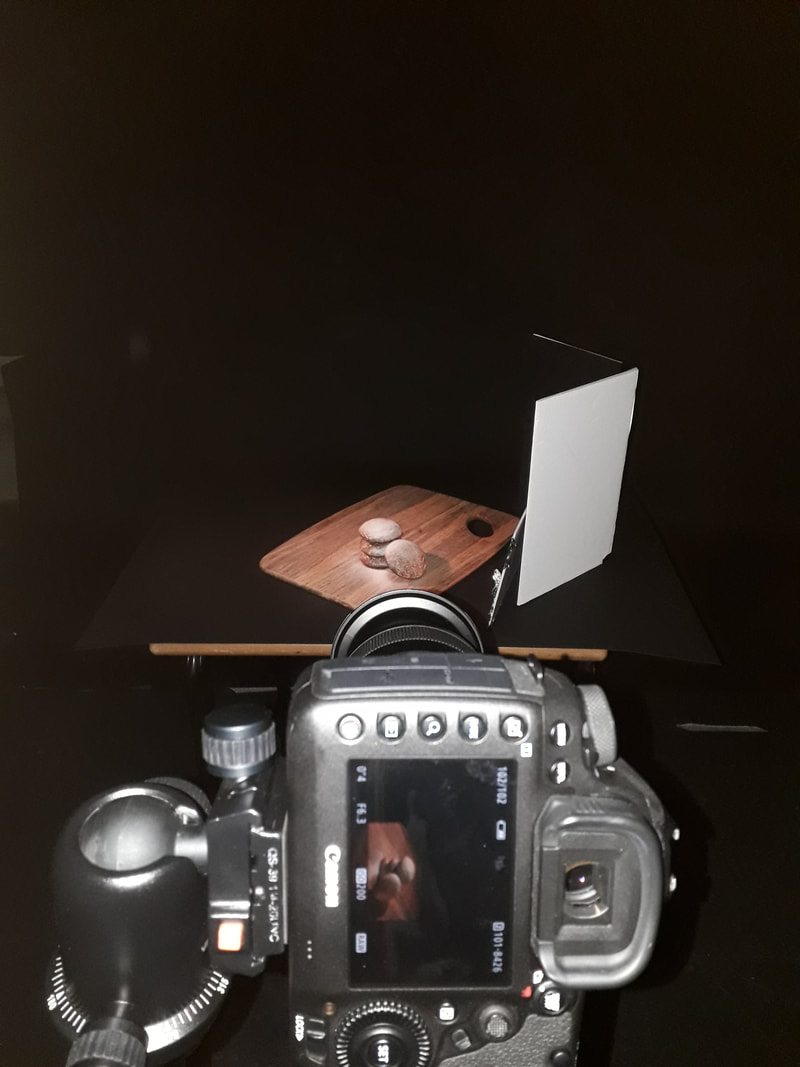
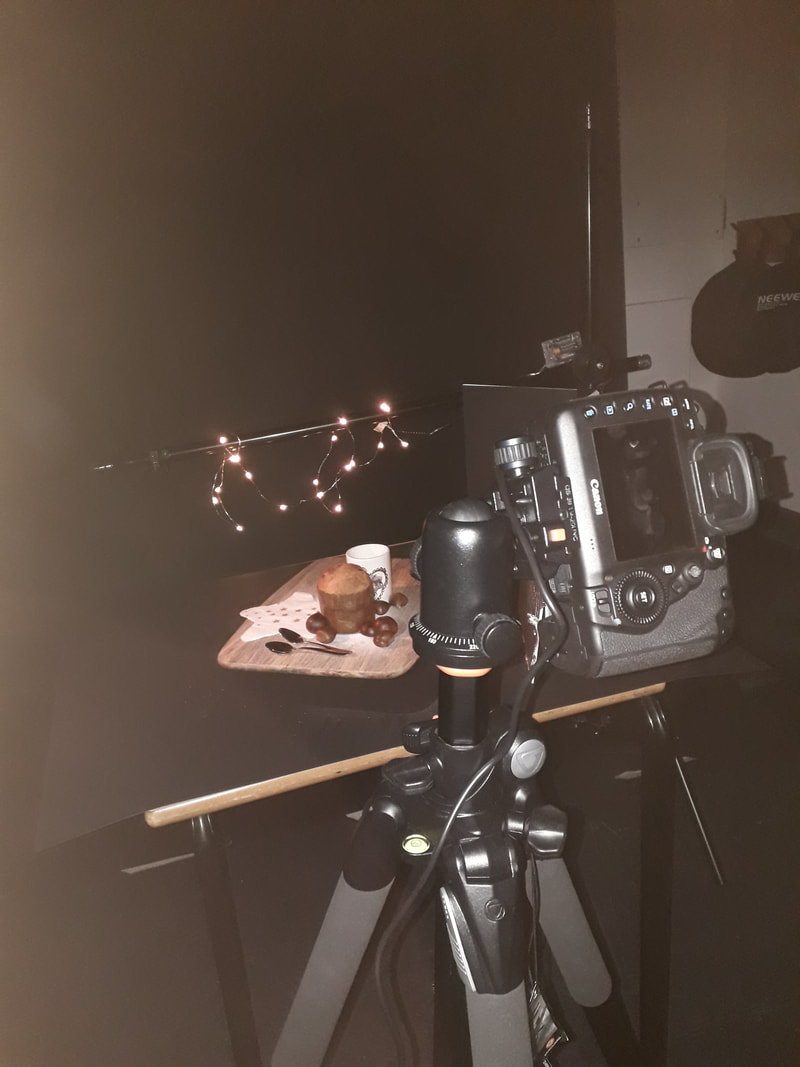
As mentioned before, my aim was to create a Christmas related theme, so the two main food items that I chose to photograph were; cookies and panettone alongside other still life. I used a low key lighting because I wanted to highlight, mainly, the food elements and have a dark background. The equipment included: DSLR camera, tripod, small size reflector (black colour), table, key light, fairy lights and mirror. The key light was positioned on the left side of the table so the light was reaching only one side of the food items, and the other side was in shadow, which created a dramatic look in the photographs. The camera was placed right in front of the subject and a black reflector was present next to the food on the right side with the purpose to block any extra light and create shadows to come up with a more realistic and aesthetic look, The images below were taken by me in the studio while taking food photographs and they show a typical set up of food photography.
Lighting diagramThis image shows a typical set up required for a professional food photography.  H&S1)Loose cables and wires 2) Immediately clean spillages 3)Check light stands and tripods 4)Don't touch the bulbs 5)Be careful with knives and scissors or any other sharp tools 6)Keep your studio tidy and clean. 7)Before starting do a risk assessment for you electrical equipment 8)Make sure that your equipment is insured. 9) Be careful with hot liquids. 10)Make sure that the food/liquids are distant from electrical sockets. Contact sheetThe slideshow below represents the contact sheet, made on lightroom, of all the images that were taken by me in the studio ,whether they were successful or not. Analysis
References
https://www.pinkladyfoodphotographeroftheyear.com/a-history-of-food-photography/ https://en.wikipedia.org/wiki/Food_photography https://www.shutterstock.com/blog/history-of-food-photography
0 Comments
Influences and insirations
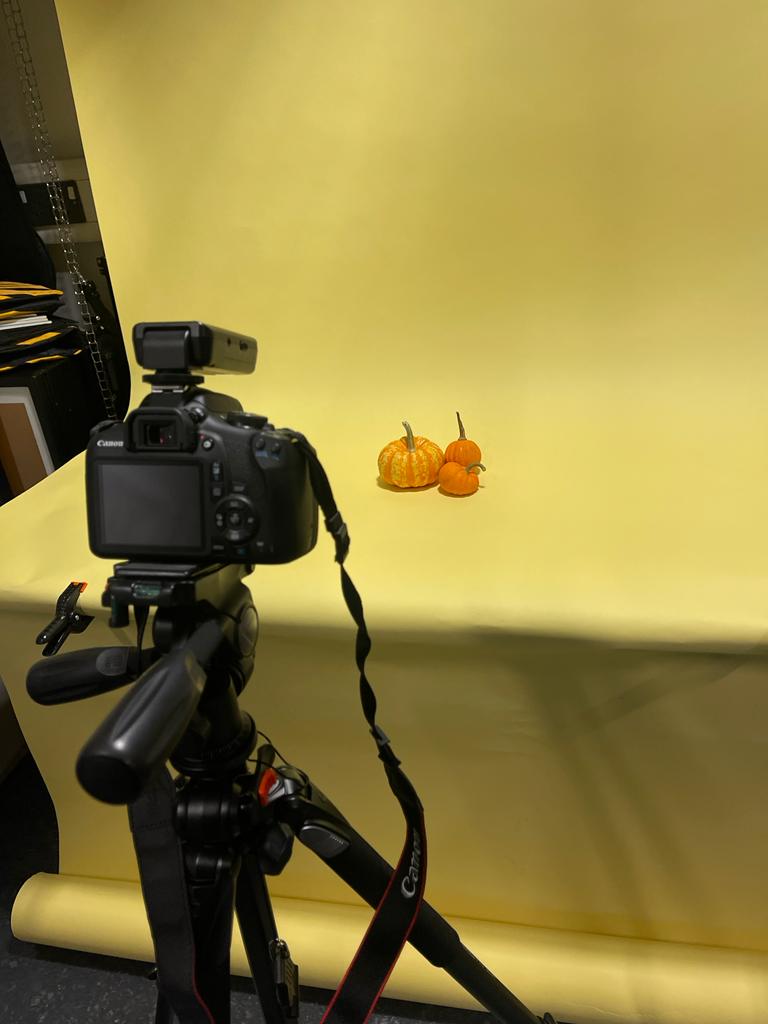
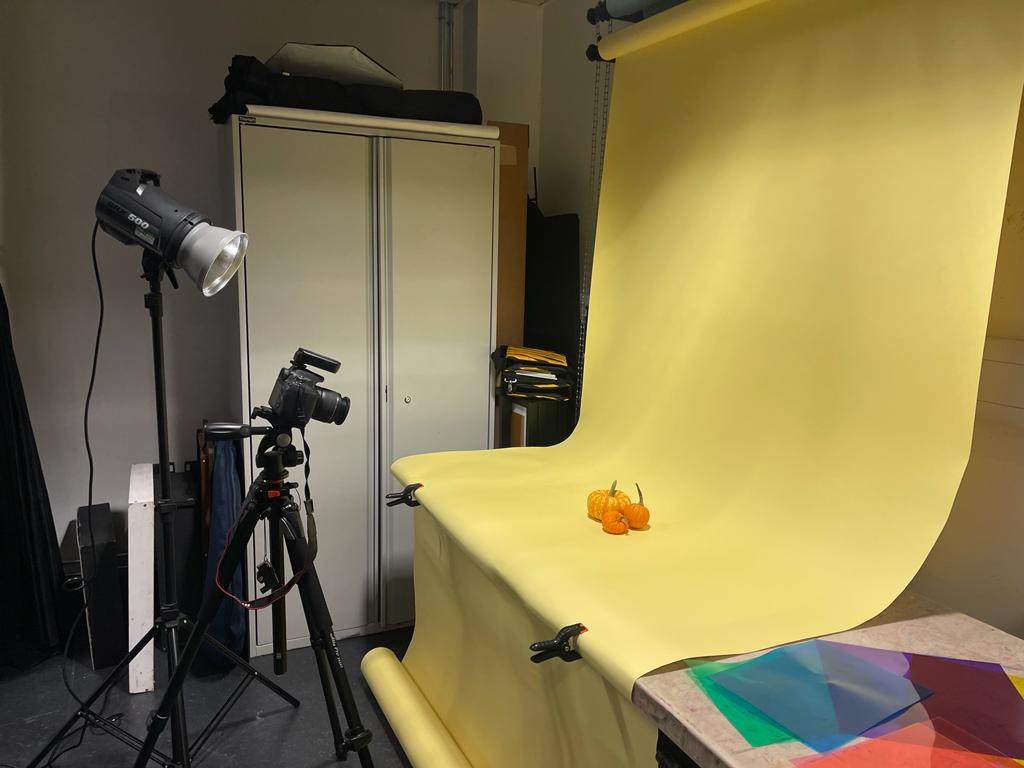
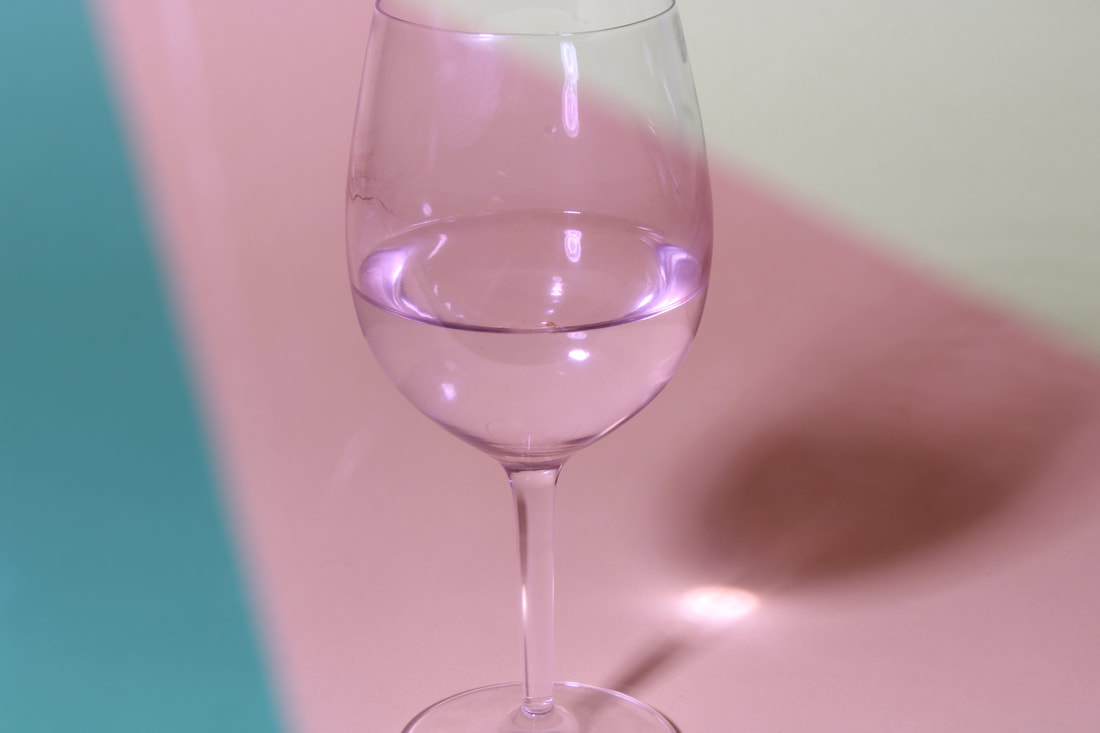
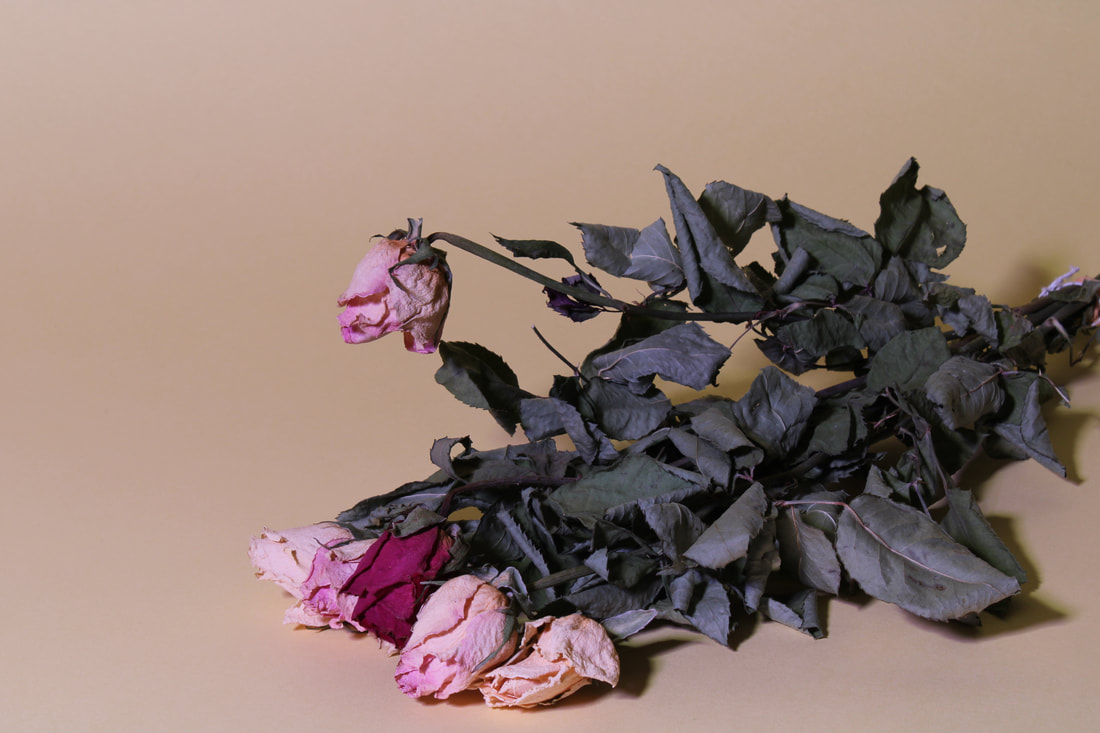
Lighting diagram Equipment and set upThe images below show the set up, process and equipment required for colour gel photography. Equipment includes: 1)DSRL camera, 2)tripod, 3)colour gel sheets, 4)lighting source 5)and still life items. H&S1)Loose cables and wires 2) Immediately clean spillages 3)Check light stands and tripods 4)Don't touch the bulbs 5)Be careful with knives and scissors or any other sharp tools 6)Keep your studio tidy and clean. 7)Before starting do a risk assessment for you electrical equipment 8)Make sure that your equipment is insured. 10)Don't bring food or drink in the studio.
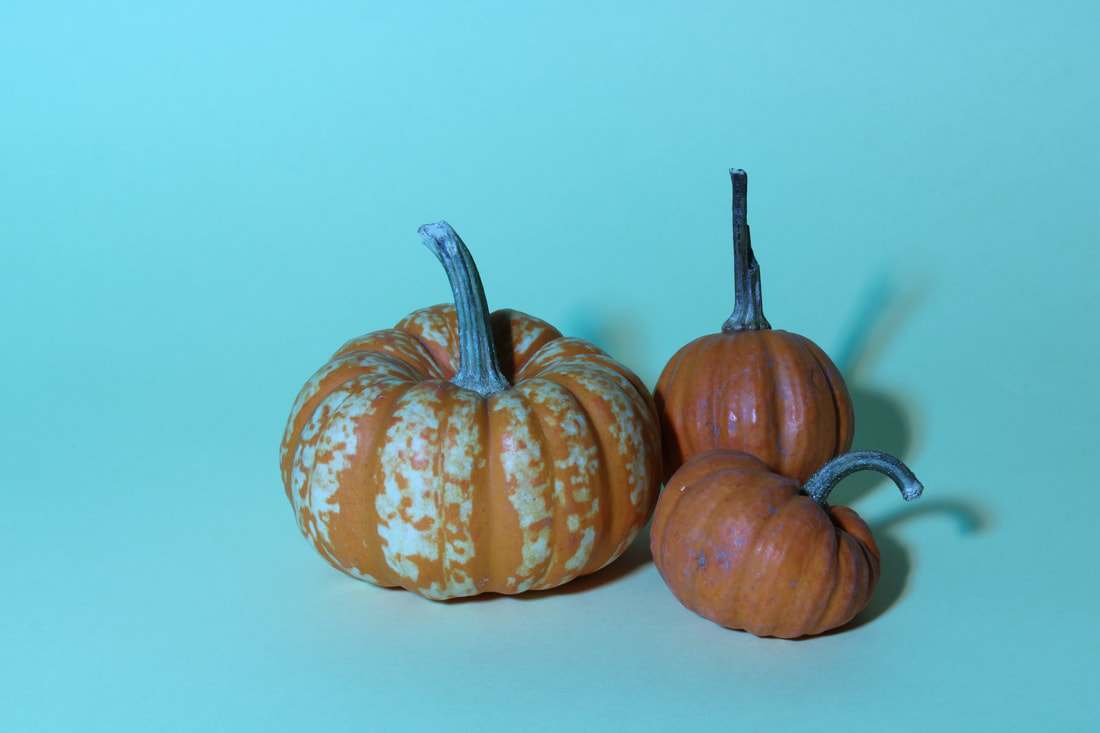
Contact sheet This is the contact sheet of the photographs that I have captured using colour gels, in the studio. 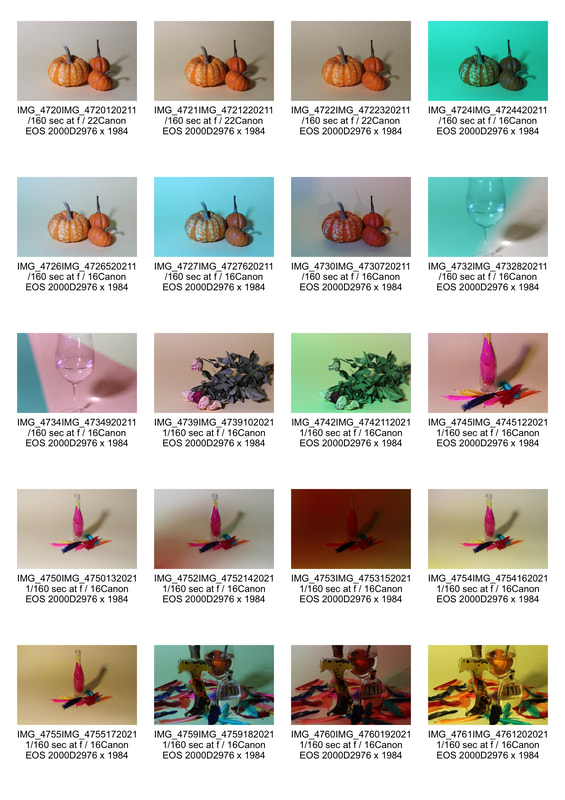 Edited images
References
https://contrastly.com/all-about-colour-gels/ https://www.pinterest.com/lindsayradler/gel-photography-and-colored-lighting/ http://www.myphotocentral.com/articles/dramatic-photography-colored-gels/ |
AuthorWrite something about yourself. No need to be fancy, just an overview. Archives
March 2022
Categories
All
|


 RSS Feed
