|
The purpose of white balance is to balance, as suggested by the name, the colors to match the color of the light source so that white objects appear white. There are different types of light sources, including sunlight, incandescent bulbs, and fluorescent lighting. The image sensor in a digital camera will reproduce these color differences just as they are, with the result that without additional processing the color of the photograph would appear to change according to the light source. Auto white balance automatically processes the image to remove unwanted color casts by, for example, making photographs taken under incandescent bulbs more blue to correct the reddish cast of this type of lighting. Normally, auto white balance will produce the desired results without the photographer having to worry about the type of lighting. If auto white balance does not produce the desired results, the photographer can choose from a number of fixed white balance options according to the weather or the light source. The photographer ca choose a setting for direct sunlight or incandescent lighting to introduce a deliberate red or blue cast according to their creative intent.
0 Comments
IntroductionSoftware is a combination of instructions, data or programs, utilize to operate computers and perform particular tasks. In photography many editing software are used in order to upgrade the standard and quality of an image. Editing a photograph on an editing software includes adjusting the following elements:
Example of paid software
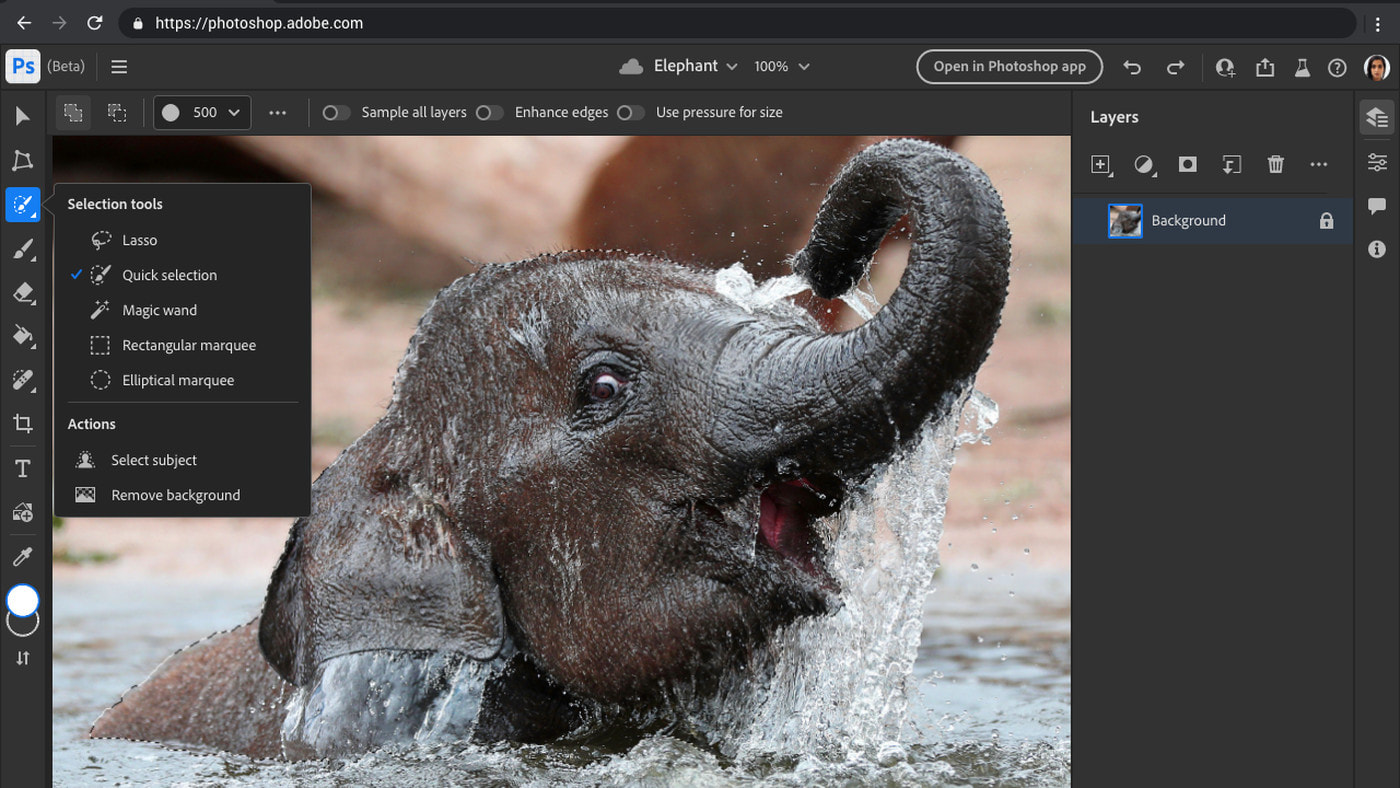
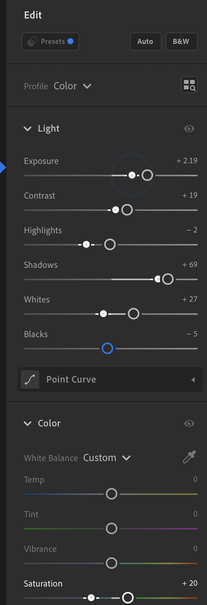
Adobe Photoshop is a paid editing software, used for raster image editing, graphic design and digital art. It cost is around $20.00 per month, but students and teachers are entitled to discounts. Photoshop uses multiple layers, as masks or filters, to create transparency and modify the underlying images in the layers under them. Adjustment layers can manipulate the picture’s hue and saturation, levels, contrast, curves, and color balance as well as other more advanced points of manipulation. The Crop tool is one of the most used functions in Photoshop. Photoshop offers a range of tools that allow you to edit only specific layers such as
The type tool is another component of Photoshop that allows you to add writing in your photographs. This software is suitable to create digital paintings, use for graphic design, use for web design, create GIFs and video editing. I have used Photoshop to create posters. One of them was a digital drawing, second one was a photo montage and the last one consisted in laying a hand made painting and some digital photograph together alongside a written quote. My experience was amazing, even though I was unfamiliar with the functions of this software, with some guidance I came up with quality work and that was because of the sophisticated and varied editing components that Photoshop owns. Example of free software
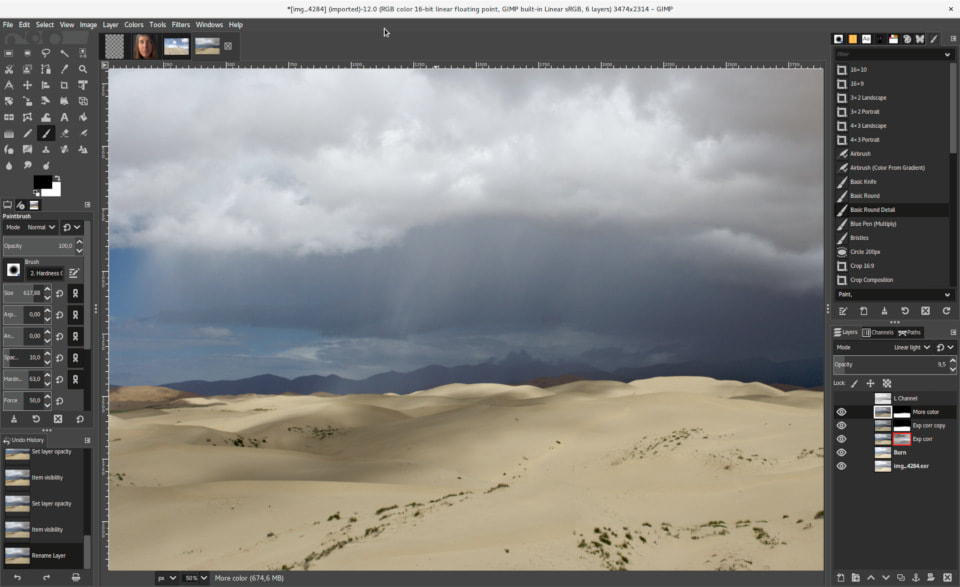
GIMP is a free editing software and it includes a professional quality functions which allows you to produce your own creative art work starting from scratch. It contains layers, highly customizable brushes, filters and automatic image-enhancement tools, and support for a huge number of plugins (new functions). GIMP comes with impressive selection and montage features including; cropping, colour adjustment, noise reduction, gradients, layer masks, filters and an animation package. ConclusionAt the end, I would like to give my opinion about the difference between paid and free software. I think there are not major differences, apart the price, because even paid or non paid applications provide, almost, the same amount and the same standard of editing features, like the example shown above. Therefore, I think software such as Photoshop are overrated. Referenceshttps://www.techtarget.com/searchapparchitecture/definition/software#:~:text=Software%20is%20a%20set%20of,that%20run%20on%20a%20device.
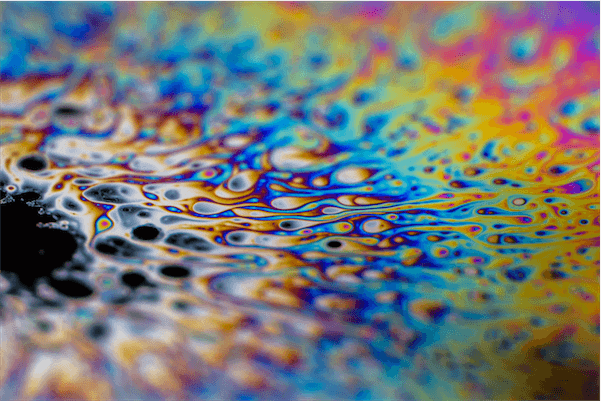
https://www.webopedia.com/definitions/photo-editing-software/ https://www.techopedia.com/definition/32364/adobe-photoshop https://itconnect.uw.edu/learn/workshops/online-tutorials/graphics-and-design-workshops/adobe-cs/photoshop/color-swatches-gradients/ https://itconnect.uw.edu/learn/workshops/online-tutorials/graphics-and-design-workshops/adobe-cs/photoshop/type/ https://www.techradar.com/uk/reviews/gimp 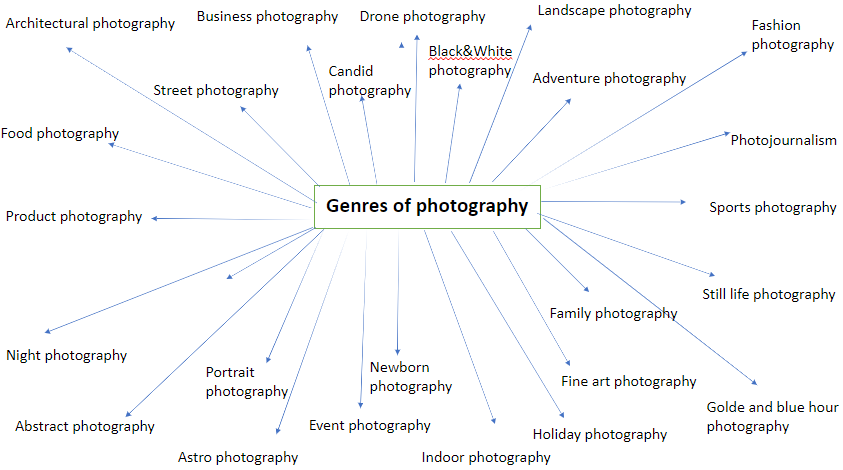 Abstract photography Abstract photography, also know as non-objective, is a genre that follows no rules and the images are imagined outside of "reality". This photography lets the viewer decide what the photograph represents; the subject matter. The three main elements that form abstract photography are
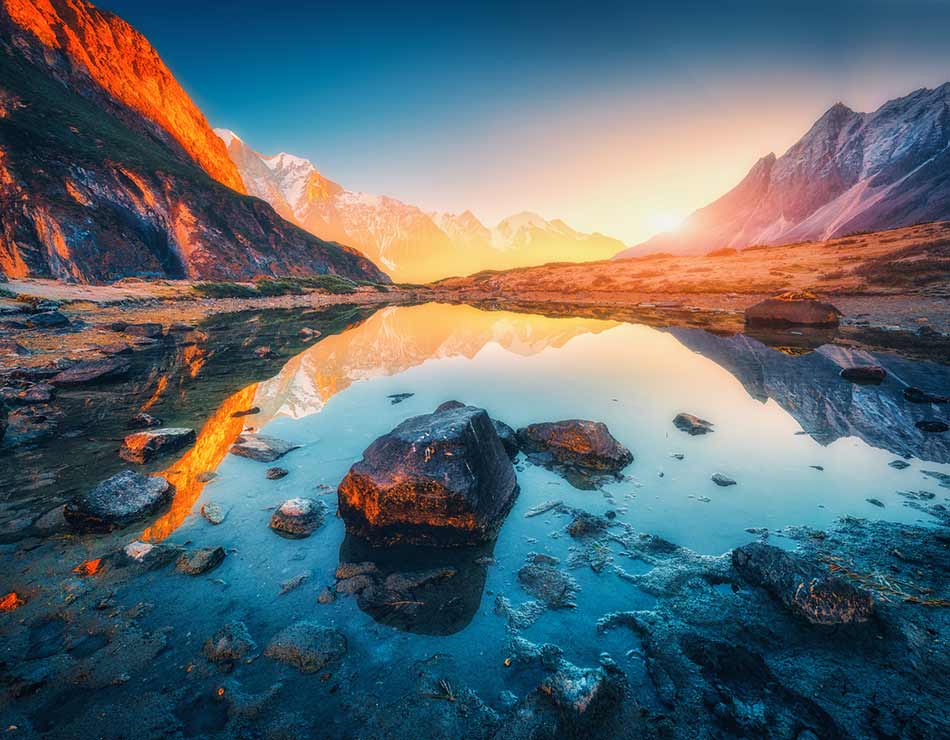
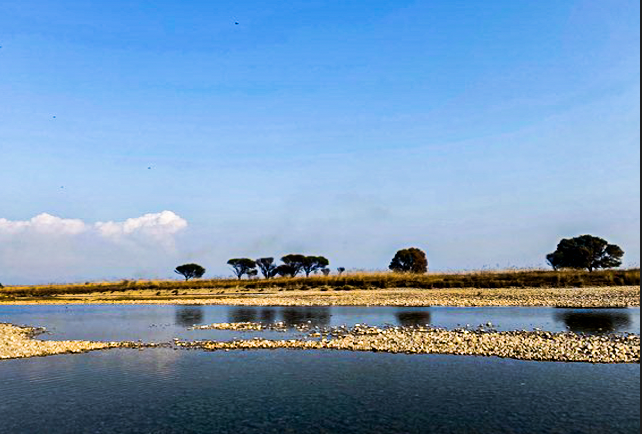
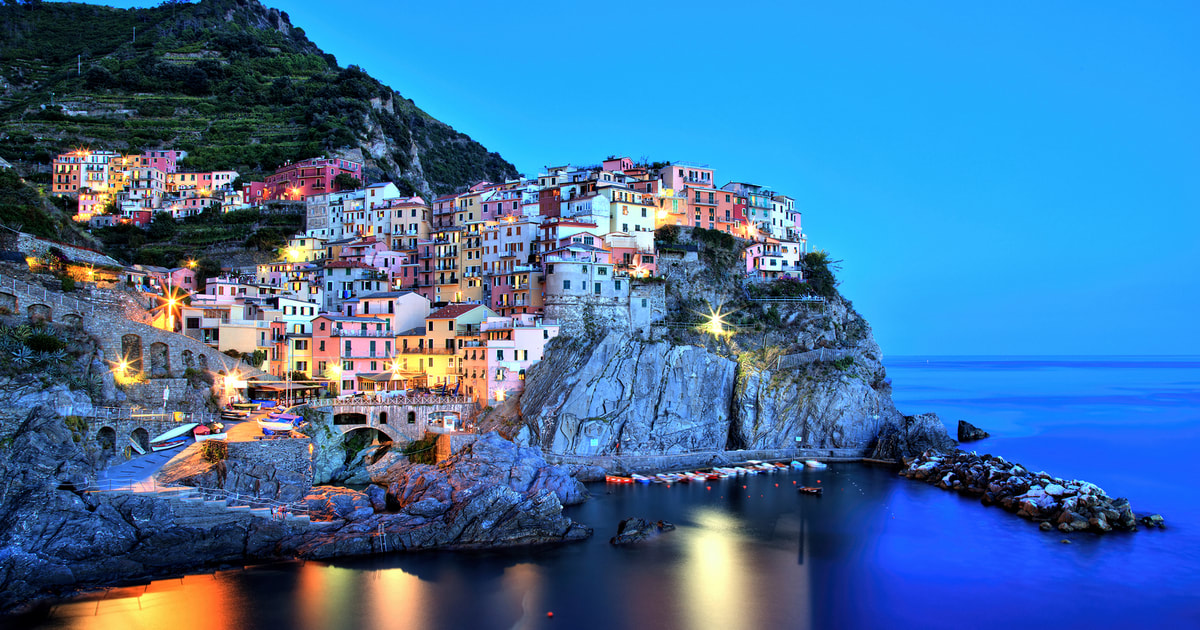
Landscape photography Landscape photography is a genre of photography that captures natural landscapes. These images could include people, animals and architecture but the primary source of focus is supposed to be the natural scenery in order to be considered landscape photographs. Seascapes, mountain ranges, rivers, forests, desert, water fall, flowers, cliffs and other natural landscapes are the common subject matter in this genre. There are some styles of landscape photography;
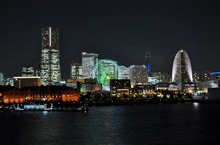
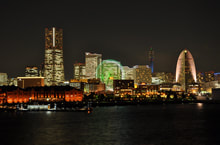
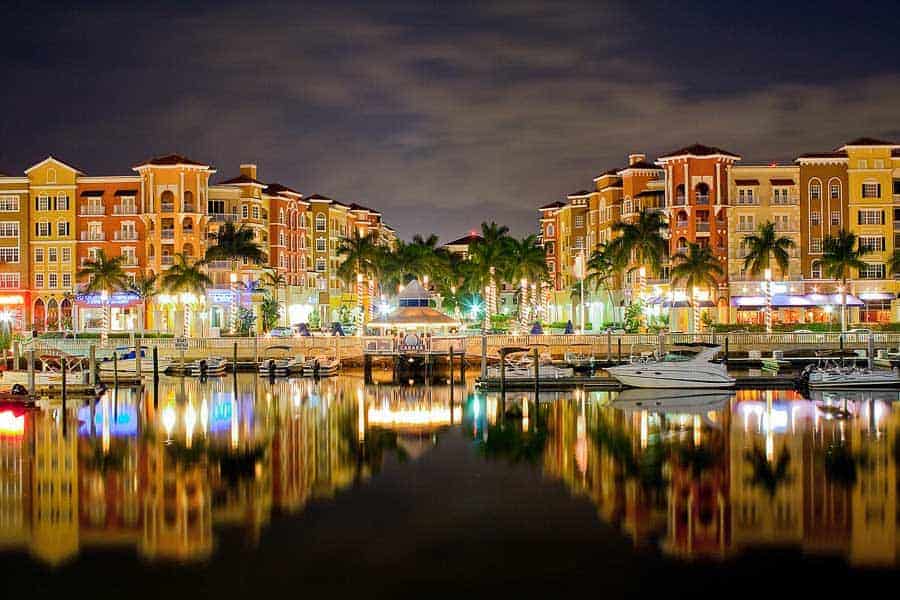
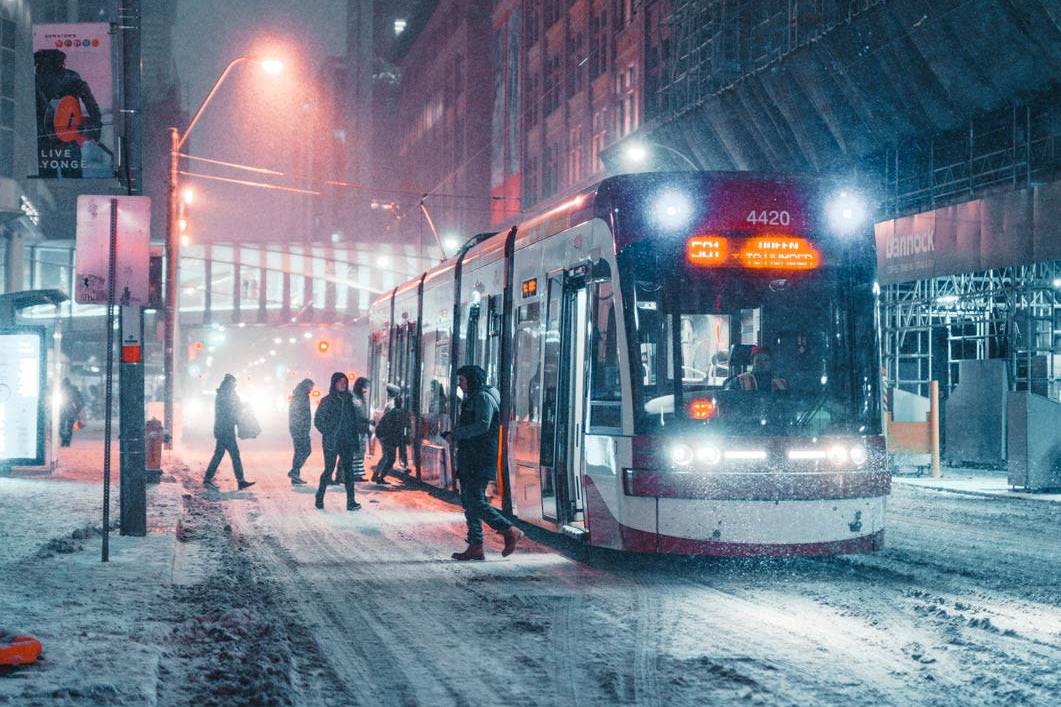
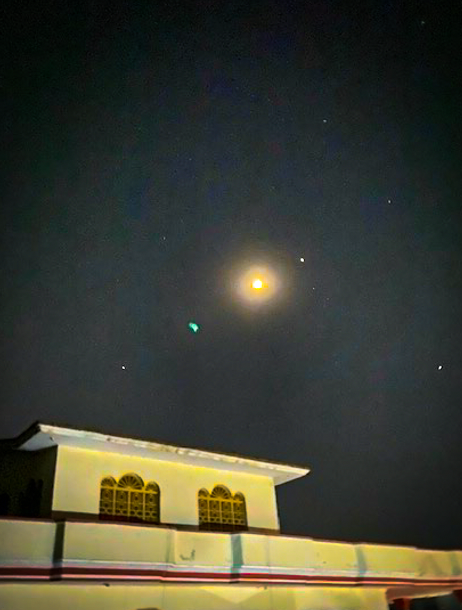
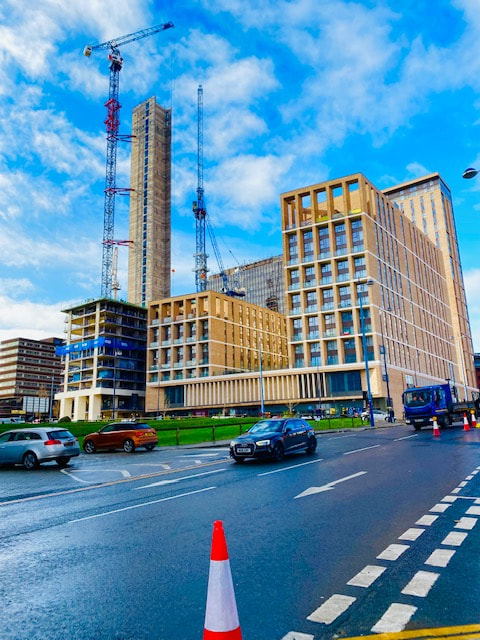
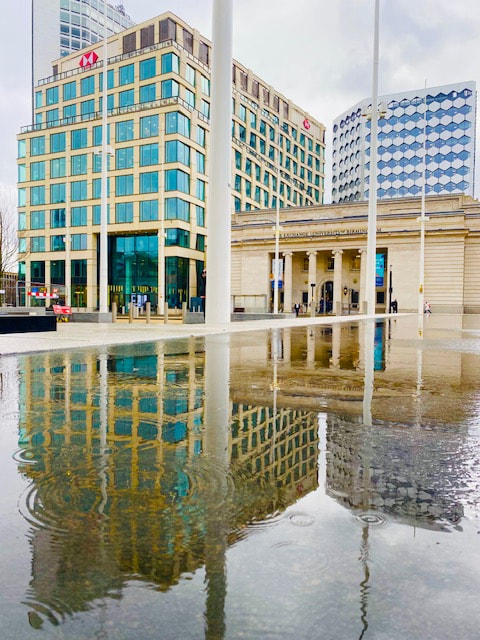
Night photography Night photography is genre of photography that consists in capturing photographs at night, outdoors between dusk and dawn. The popular subject for night photography are night sky, buildings, cities, fountains, bridges, streetlights, reflections and silhouettes. The main difference between daytime photography and night photography is the usage of exposure values, due to the darkness, more light should enter the camera, which you can achieve by changing the three controls; aperture, shutter speed and ISO. These images show what night photography stands for.
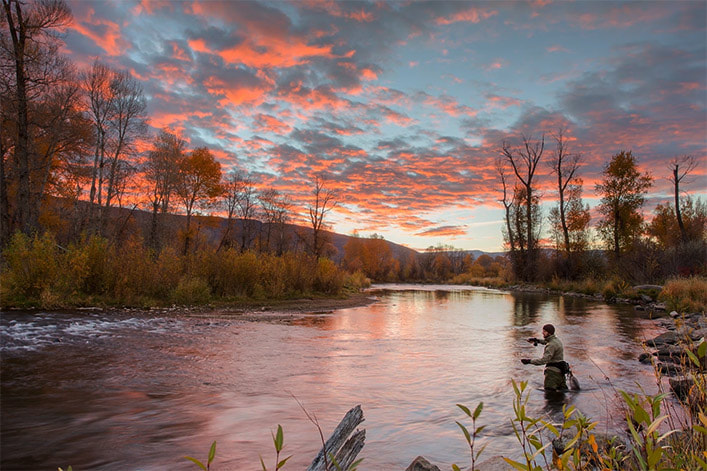
Golden and blue hour photography "Golden hours" are the last hour before sunset and the first hour after sunrise. These hours ae known in photography because they provide natural light that eases the work because the light is softer; does not have sunshine down directly and makes skin tones look more beautiful. Also, because the light is directional; the sun is a t a low angle, so you can use it as Rim light, back light, side light and to create silhouettes. The golden hour light is warmer, with lots of yellows, oranges, and reds, colours that are associated with happiness and warmth. However, the "Blue hour" is a short time period when after the sun sets and the sky picks a blue colour before it gets night. During this time it is easier to capture images as there are no harsh shadows or bright sunshine.
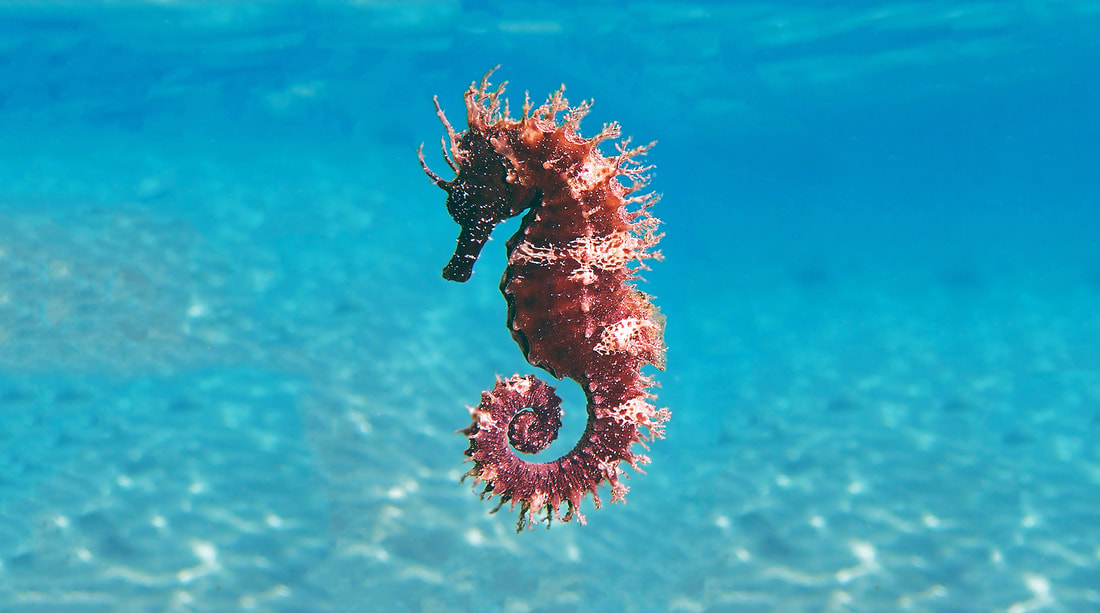
Underwater photography Underwater photography is all about capturing images of the underwater creatures. This genre of photography requires professional and specific equipment and techniques such as the waterproof underwater camera. The common subject of underwater photography are; wildlife, underwater fashion photography, underwater macro photography, scenics and wide angles shots and many more. While taking underwater photographs there are many challenges that one faces in order to get successful images such as; water reduces the colour, contrast and sharpness, therefore it is advised to get within 12 inches closer to the subject. The images below are example of underwater photography.
Referenceshttps://www.eden-gallery.com/news/what-is-abstract-photography
https://abstractedreality.com/definition-of-abstract-photography/ https://www.iphotography.com/blog/what-is-abstract-photography/ https://www.slrlounge.com/photography/landscape/ https://cramerimaging.com/what-is-considered-landscape-photography https://www.nfi.edu/night-photography/ https://www.adobe.com/creativecloud/photography/discover/golden-hour.html https://expertphotography.com/blue-hour-photography-techniques/ https://www.uwphotographyguide.com/underwater-photography-tips https://www.pixpa.com/blog/underwater-photography-guide Introduction
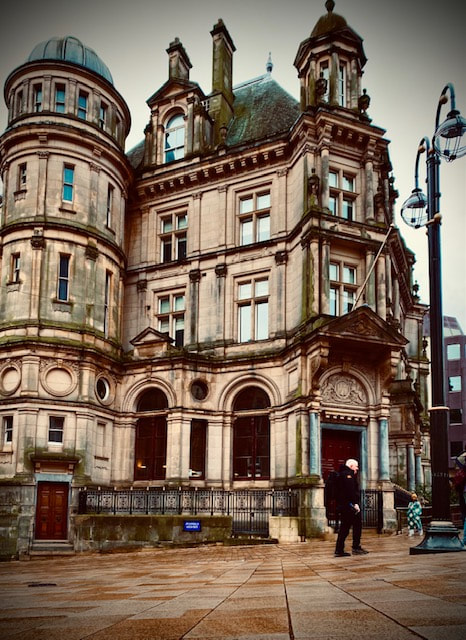
Inspirations/ influencesBefore producing my own street photographs, I did some research about this genre to understand; how to compose your photographs, the content, tips to capture successful images and the various types of street photography such as portraits, geometric, architecture, classic or candid, reflections, etc... The categories that attracted me the most were architectural and reflections so, I decided to go for these themes. 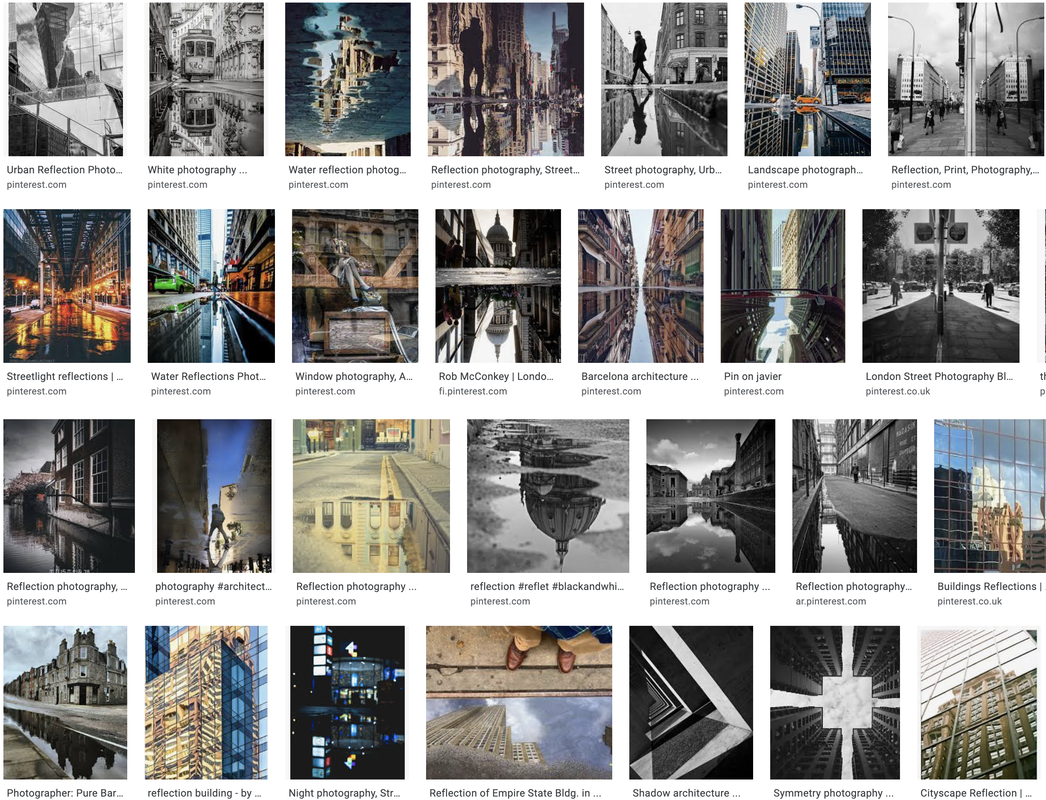 EquipmentThe equipment needed for a professional street photography is listed below:
Tips to succeed in street photography
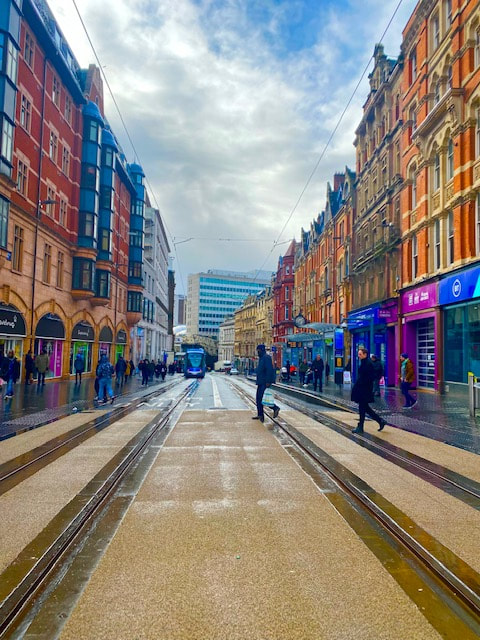
Risk assessment Contact sheetBelow is shown the contact sheet of my street photographs, taken around Birmingham city centre. Analysis
References
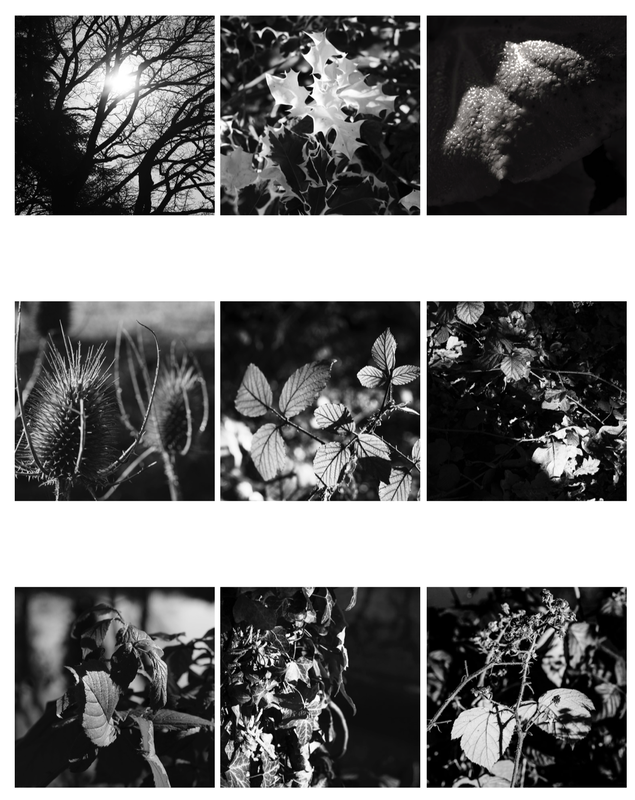
https://www.nfi.edu/street-photography/ https://photzy.com/understanding-the-different-genres-of-street-photography/ https://streetphotographymagazine.com/article/the-best-equipment-for-street-photography/ IntroductionBlack and white photography is a genre of photography that eliminates the use of colours, and makes the viewers concentrate on the texture, style, composition and shapes, present in the image. This genre, usually, requires the presence of great contrast; difference between light and dark, in the photographs, so the white and black are well recognized. There are certain subjects that tend to work better than others in black and white such as nature, wildlife, landscape and portraits. There are two ways to capture Black&white photographs, nowadays. By setting your camera to the Monochrome mode and take images or converting your images to Black&White on Lightroom or Photoshop, afterward. My photographs analysisThe 9 photographs shown below were taken by me, in my college's backyard. These are the most successful ones, from the approximately 150 photographs that I have taken. I have used a DSLR camera to capture these images, by setting it to the monochrome mode. My aim was to photograph images with a high level of contrast, because those are the ones that please me the most due the presence of numerous shades in them. Therefore, I focused to places that included sunlight along with shadows. The subject matter of my photographs are, mainly, the leaves, alongside some flowers and one image has the sun as its main content. My images include
 At the end, I have composed them in a grid using Photoshop. Referenceshttps://photographypro.com/black-and-white-photography/
Introduction
Equipment
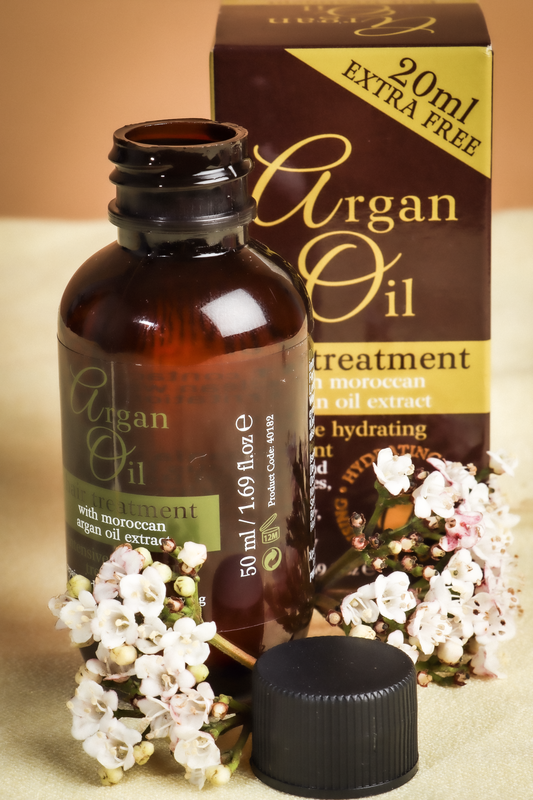
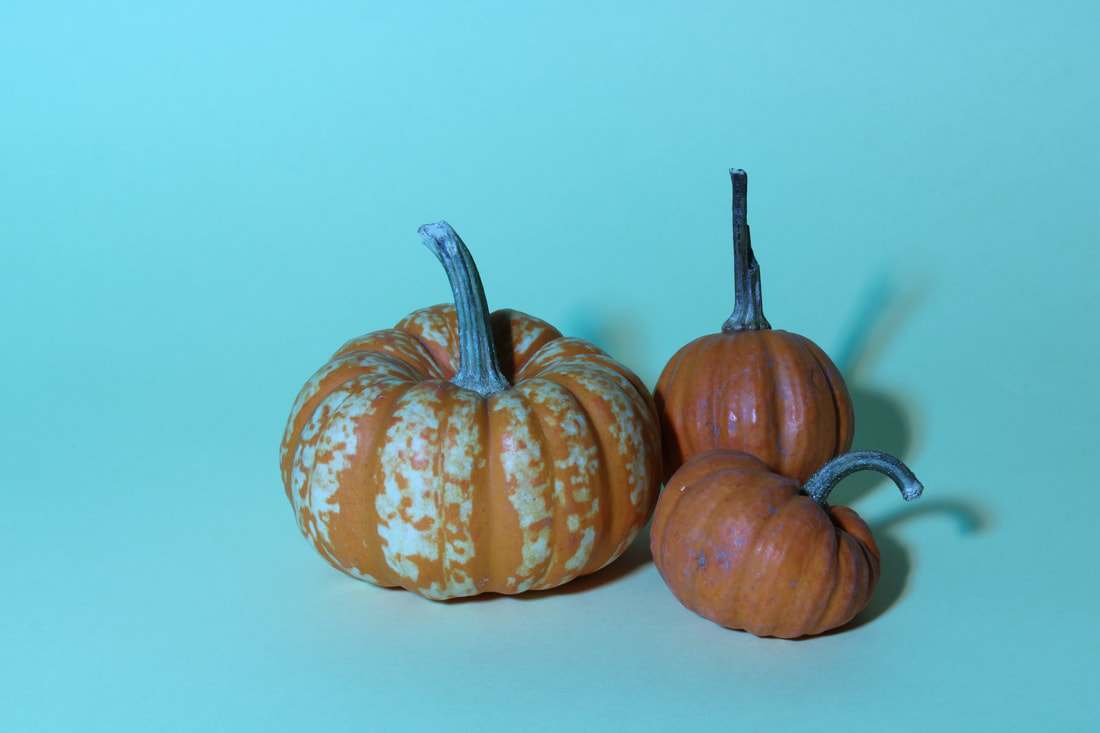
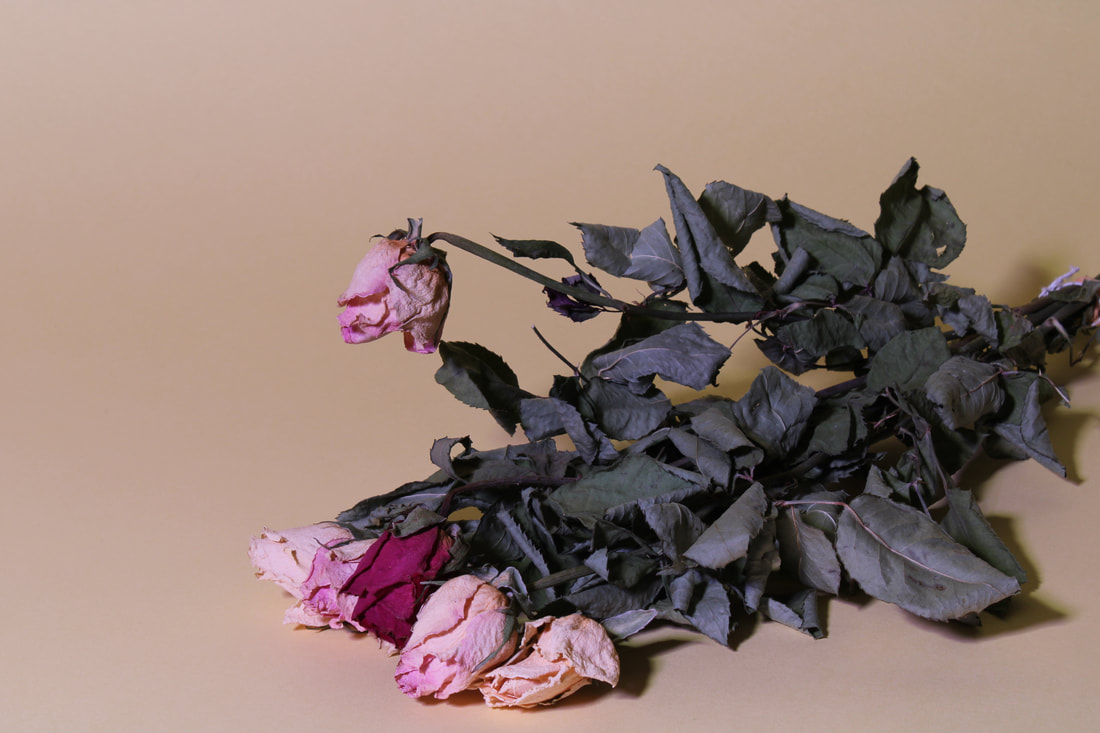
Set upTo take product photographs, my tutor set up the equipment for me, which included, camera settings, background and lightings. After that I positioned my products alongside still life objects to make the final outcomes look more interesting, creative and professional. I tried various compositions for every product and checked in the camera if they looked good in the frame. I also made some changes in the background; instead of fabrics, I replaced them with black glass background because it was solid and plain and also because I used water later, so it was more suitable. The images below show the entire set up, equipment and process. Influences/inspirationsThese images represent my inspiration from google and Pinterest. 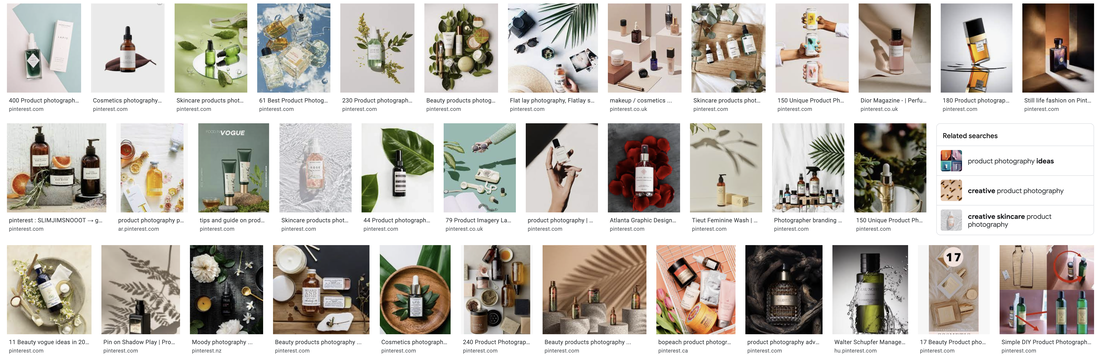 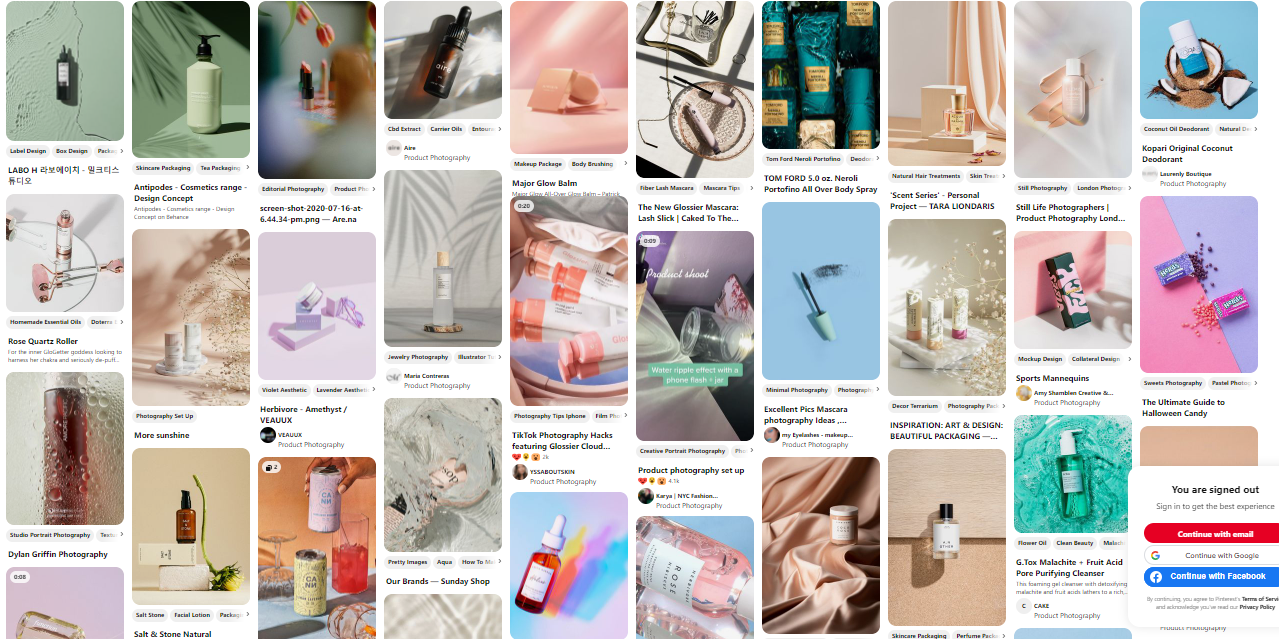 Lighting diagram and set up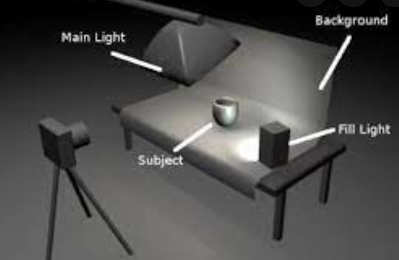 H&S in the photography studio1)Loose cables and wires 2) Immediately clean spillages 3)Check light stands and tripods 4)Don't touch the bulbs 5)Be careful with knives and scissors or any other sharp tools 6)Keep your studio tidy and clean. 7)Before starting do a risk assessment for you electrical equipment 8)Make sure that your equipment is insured. 10)Don't bring food or drink in the studio. Contact sheetBelow is the contact sheet of all the images that I have taken during my workshop of product photography. Edited photographs
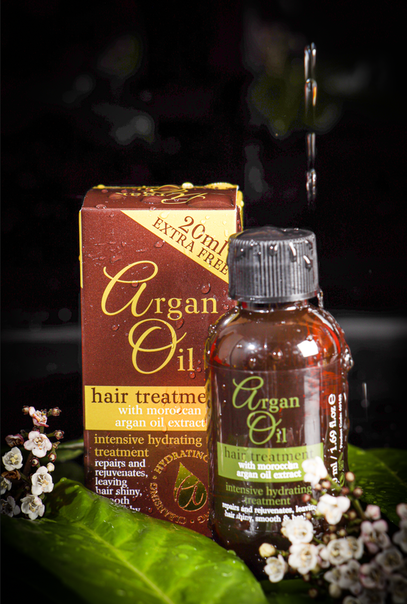
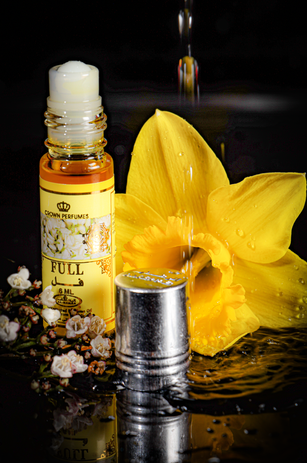
This is another photograph of the same product, but with different composition. My aim, for this image, was to experiment with the water drops to see what effect they will add to the picture, also because I, personally, really like experimenting such methods especially adding water in photographs to create reflections. I placed green leaves under the oil bottle and its packaging, added white flowers, but this time put them in the corners, and sprayed water all over the product and took some images. After seeing how pleasing the water was looking on the bottle, I had the idea to capture the water falling on the product from the top, and doing so was quite challenging; pressing the camera button (me) and pouring the water (my friend) at the same time because the water. The aperture was set on f7.1, shutter speed at 1/160s and ISO 100. At the end I have re touched this photograph on Adobe light room and all the changes that I have made are shown above.
References
https://baboodigital.com/product-photography-a-comprehensive-guide/ https://www.bigcommerce.com/blog/how-to-rock-product-photography-on-a-budget/ https://pathedits.com/blogs/tips/what-is-product-photography-everything-you-need-to-know-to-get-started Introduction
History
Inspirations/influences
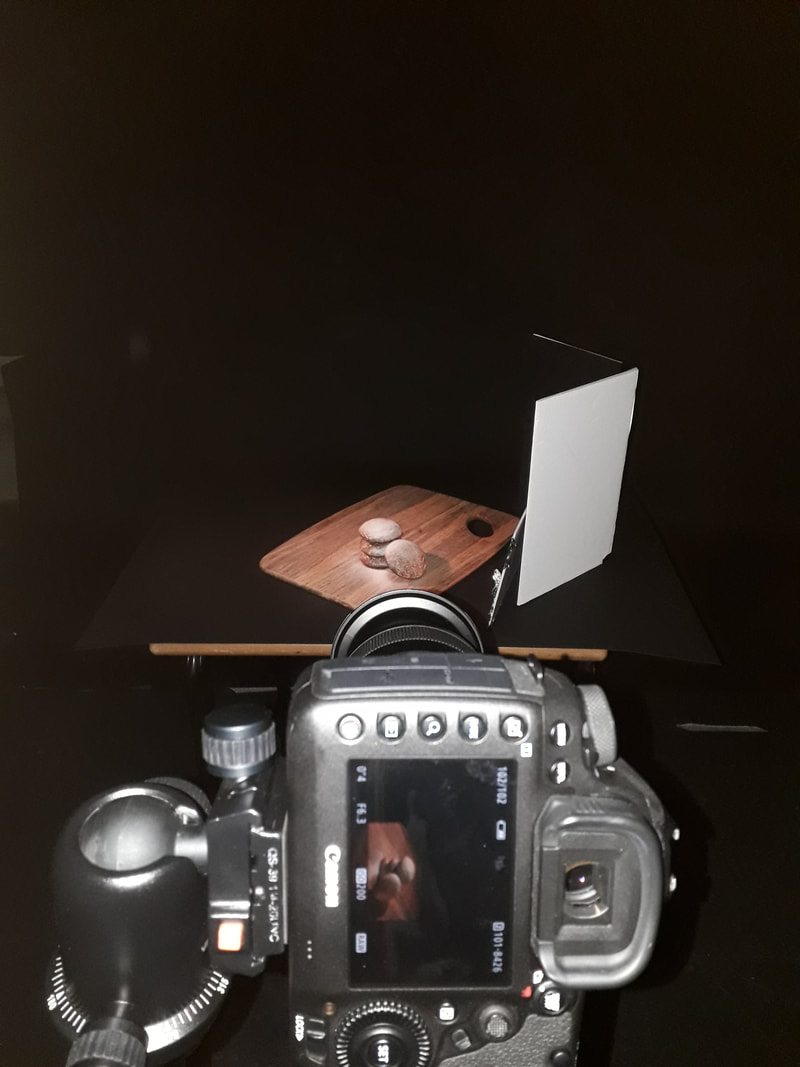
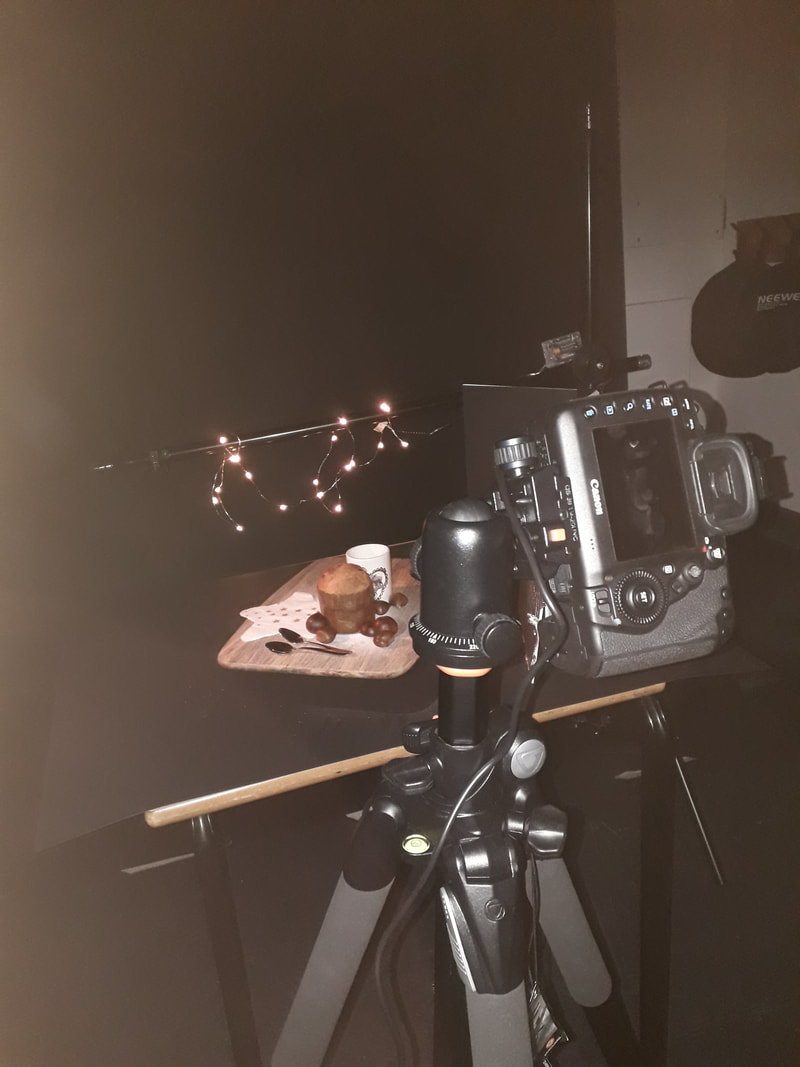
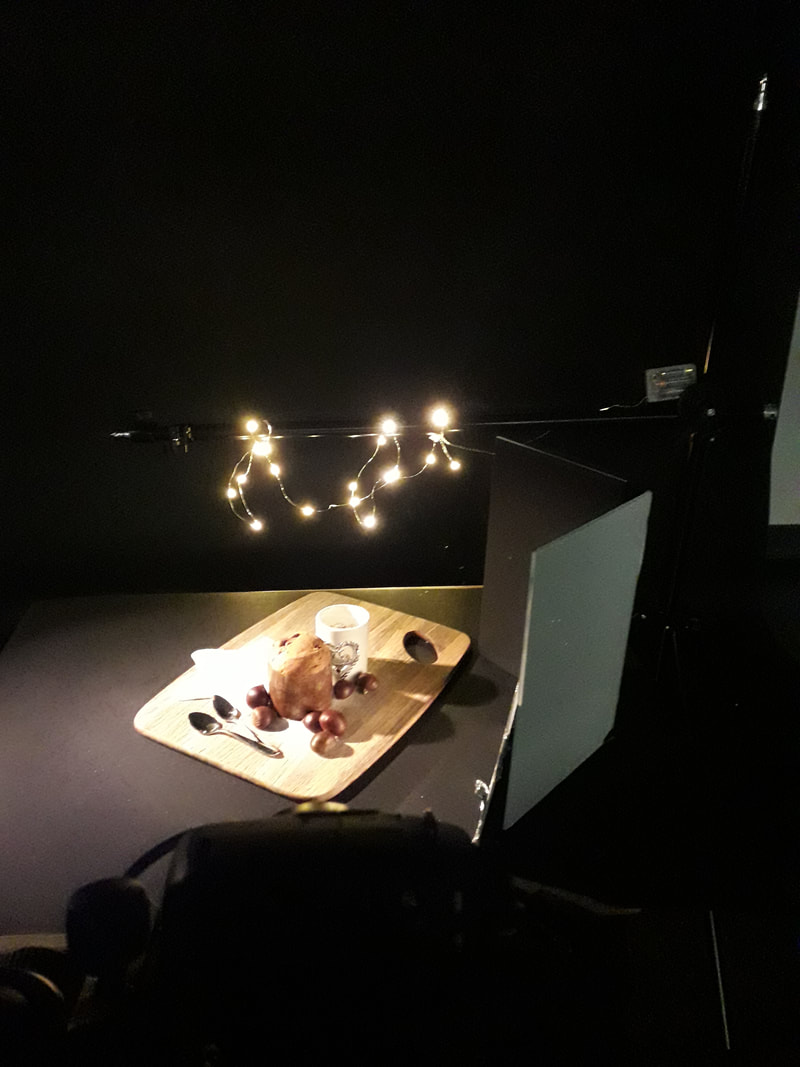
Lighting,equipment and set upThe images shown below represents the equipment and set up required for food photography.
As mentioned before, my aim was to create a Christmas related theme, so the two main food items that I chose to photograph were; cookies and panettone alongside other still life. I used a low key lighting because I wanted to highlight, mainly, the food elements and have a dark background. The equipment included: DSLR camera, tripod, small size reflector (black colour), table, key light, fairy lights and mirror. The key light was positioned on the left side of the table so the light was reaching only one side of the food items, and the other side was in shadow, which created a dramatic look in the photographs. The camera was placed right in front of the subject and a black reflector was present next to the food on the right side with the purpose to block any extra light and create shadows to come up with a more realistic and aesthetic look, The images below were taken by me in the studio while taking food photographs and they show a typical set up of food photography.
Lighting diagramThis image shows a typical set up required for a professional food photography.  H&S1)Loose cables and wires 2) Immediately clean spillages 3)Check light stands and tripods 4)Don't touch the bulbs 5)Be careful with knives and scissors or any other sharp tools 6)Keep your studio tidy and clean. 7)Before starting do a risk assessment for you electrical equipment 8)Make sure that your equipment is insured. 9) Be careful with hot liquids. 10)Make sure that the food/liquids are distant from electrical sockets. Contact sheetThe slideshow below represents the contact sheet, made on lightroom, of all the images that were taken by me in the studio ,whether they were successful or not. Analysis
References
https://www.pinkladyfoodphotographeroftheyear.com/a-history-of-food-photography/ https://en.wikipedia.org/wiki/Food_photography https://www.shutterstock.com/blog/history-of-food-photography
Influences and insirations
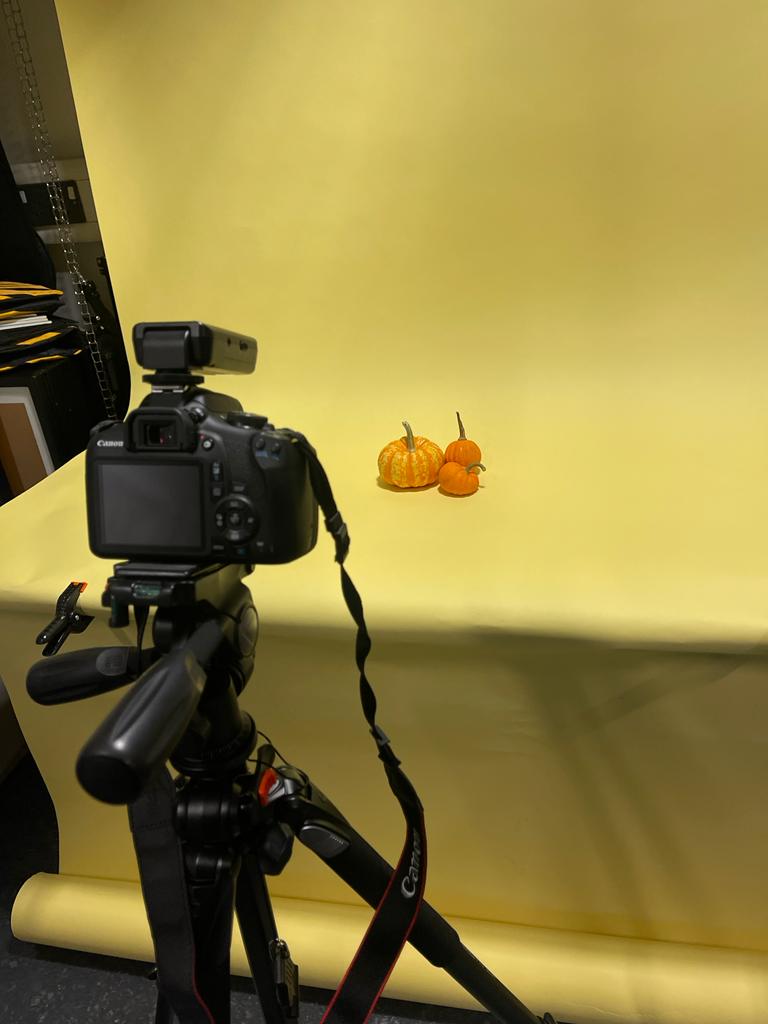
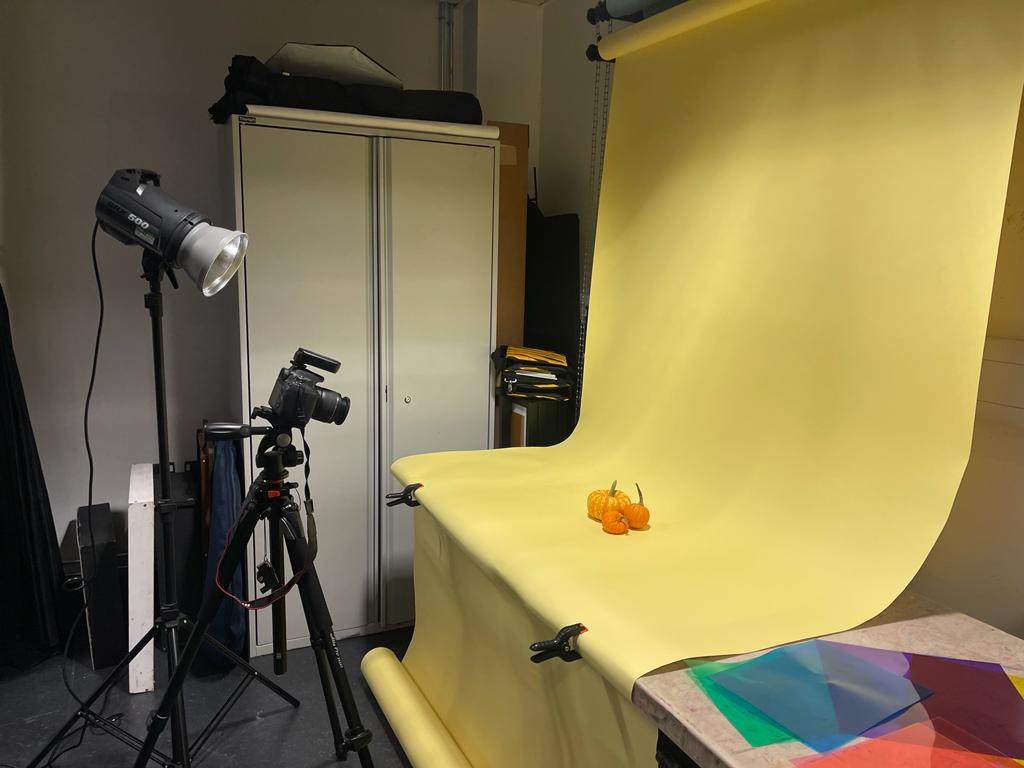
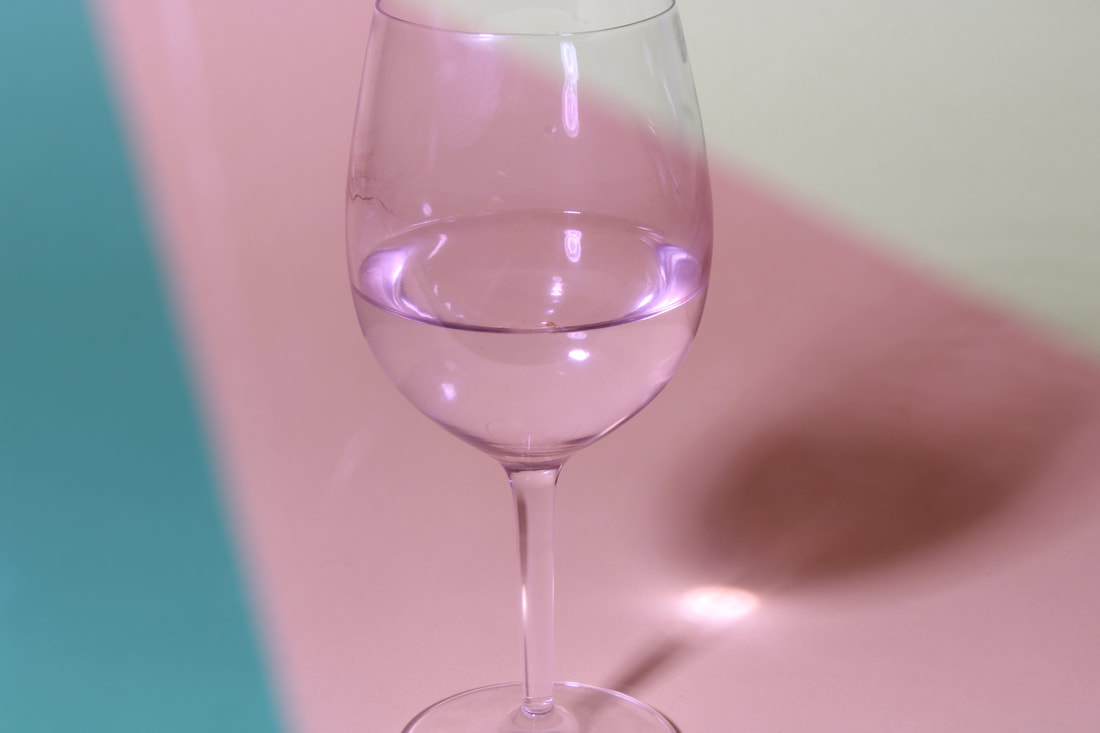
Lighting diagram Equipment and set upThe images below show the set up, process and equipment required for colour gel photography. Equipment includes: 1)DSRL camera, 2)tripod, 3)colour gel sheets, 4)lighting source 5)and still life items. H&S1)Loose cables and wires 2) Immediately clean spillages 3)Check light stands and tripods 4)Don't touch the bulbs 5)Be careful with knives and scissors or any other sharp tools 6)Keep your studio tidy and clean. 7)Before starting do a risk assessment for you electrical equipment 8)Make sure that your equipment is insured. 10)Don't bring food or drink in the studio.
Contact sheet This is the contact sheet of the photographs that I have captured using colour gels, in the studio. 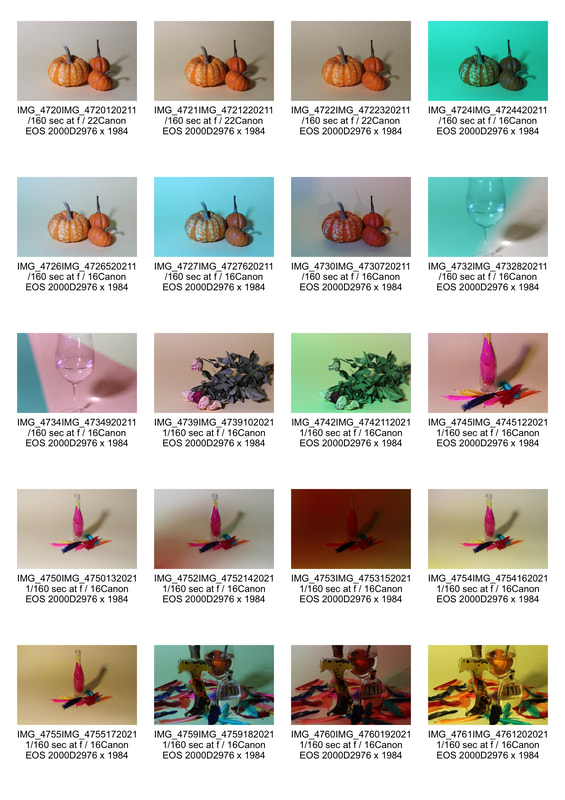 Edited images
References
https://contrastly.com/all-about-colour-gels/ https://www.pinterest.com/lindsayradler/gel-photography-and-colored-lighting/ http://www.myphotocentral.com/articles/dramatic-photography-colored-gels/ |
AuthorWrite something about yourself. No need to be fancy, just an overview. Archives
March 2022
Categories
All
|


 RSS Feed
